-
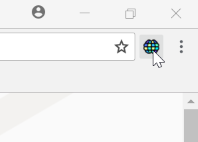
Turning on and off
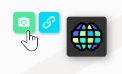
Click the Brainer application icon in your browser toolbar to turn it on or off.
![]()
Note: Brainer is designed to be the least distracting. Even when turned ON it doesn't change the content of websites and only displays the application window. When turned OFF it doesn't do anything at all (and generates no traffic).
-
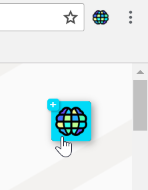
Expanding and collapsing
Click the Brainer icon on the screen to expand or collapse the application window.
![]()
Note: You can use Brainer in both minimized and window mode. The minimized mode is compact and very fast but it doesn't allow you to organize your content while adding it.
-
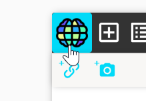
Changing the position on the screen
Drag the program icon to move Brainer. You can do it in minimized or window mode.
![]()
![]()
Note: If you drag the Brainer icon to the other corner of the screen, it will stick to that corner while you scroll the page.
-
Changing the window size
Drag the edges or corners of the window to resize it.
![]()
-
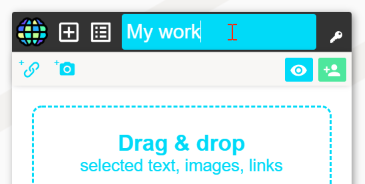
Changing the research name
Click on the research name to change it. Then press enter to confirm.
![]()
-
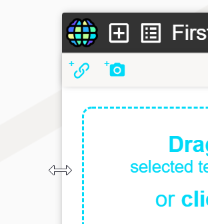
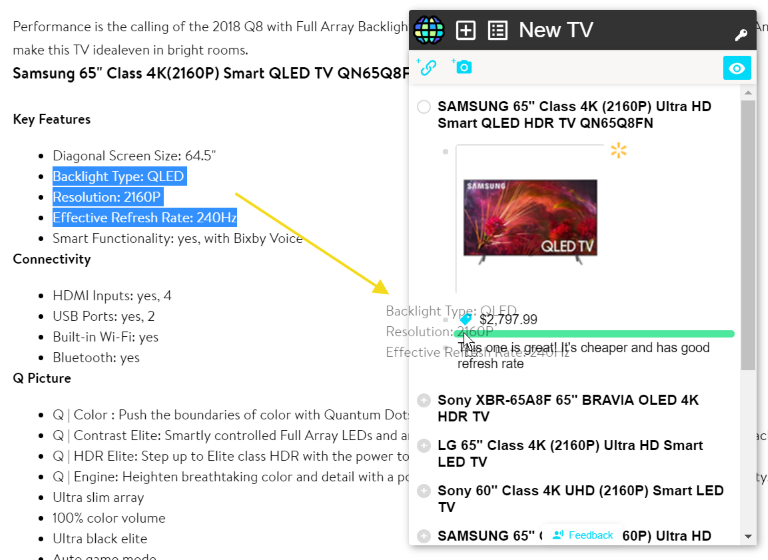
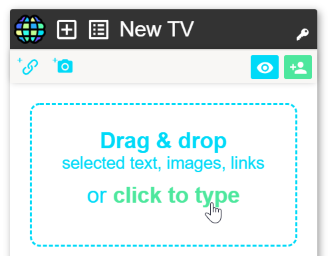
Adding content by dragging & dropping
Most of the content can be added to Brainer by dragging and dropping different elements from websites. You can drag & drop a selected text (as a quote), pictures and links.
In window mode:
![]()
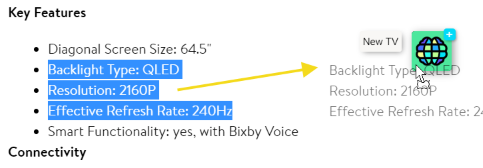
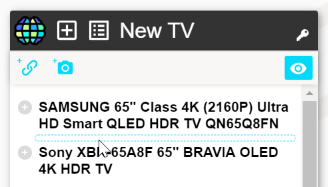
In minimized mode:
![]()
Note: You can also add YouTube videos, which are presented with a nice preview. You can do it by adding a video link.
-
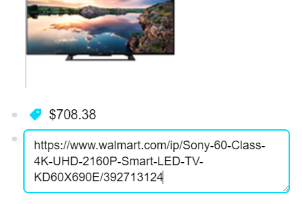
Adding content by pasting a link
You can paste any url in Brainer.
![]()
It will be parsed automatically and displayed appropriately (as a picture, video or a normal link).
![]()
-
Adding pictures from your computer
You can drag any picture from your computer to the Brainer window and it will be saved as well.
![]()
-
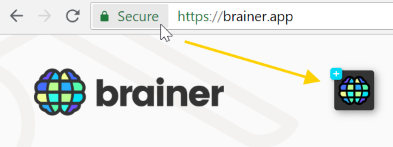
Saving a website url (bookmark)
You can save a link to the website you are browsing at the moment.
The simplest method is to drag the website icon to the Brainer window or icon.
![]()
You can also copy the link and paste it as a item in the Brainer window. The link will be automatically parsed and saved in a nice format.
-
Creating folders and grouping content
You can organize your content in folders. Then you can collapse folders that you don't need at the moment to keep your work as clear and readable as possible.
Any information you add can act as a folder (a text, picture, video). The most convenient way is to use a short text (a folder name):
![]()
Type the phrase and press enter.
![]()
Now you can start adding content to the created folder by dropping on it pictures, links and quotes.
![]()
Note: You can create as many nested levels as you want. You can also use other content type (quote, picture, video) as a group name - just drop the content on it.
-
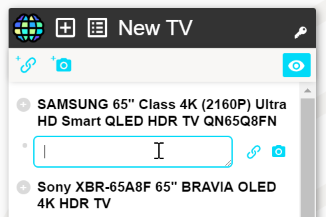
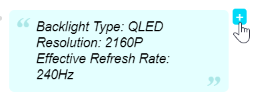
Adding content in a particular place
If you need to insert a item between two others, you can do it directly, by locating the place and clicking on it (you will see a small dashed rectangle marking the space).
![]()
You can type a new text, make a quote by adding quotation marks or paste a link.
![]()
-
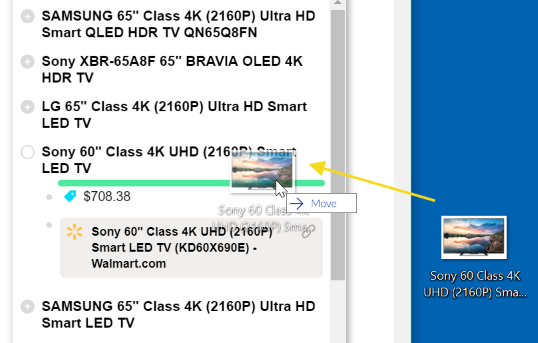
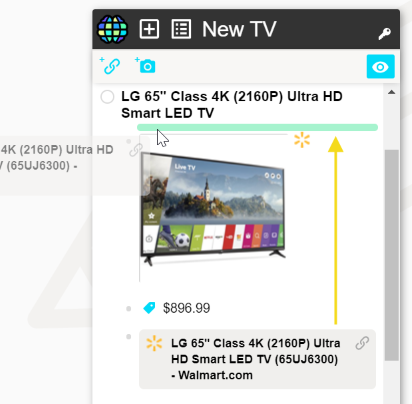
Moving content
You can change the position and order of any content by dragging it to a different location.
![]()
You can place it between two other items or drop it onto another item to create a group.
-
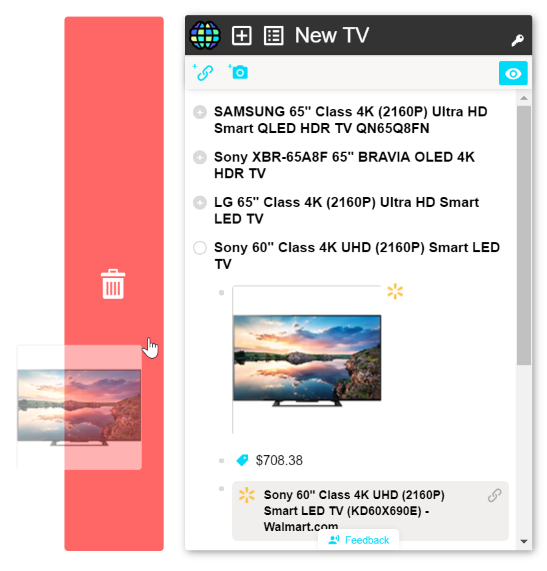
Deleting content
Method 1: Start dragging the information you want to delete (a folder, quote, picture, video). Drop it into the recycle bin that will appear next to the application window.
![]()
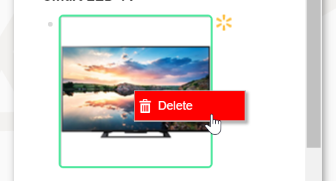
Method 2: Open the context menu (right click) and choose the 'Delete' option.
![]()
-
Accessing the source website
Brainer automatically saves the source (URL and page title) for almost all the content that you add.
You can access the source by clicking on the website icon on the right side of your content (a quote, picture, video).
![]()
-
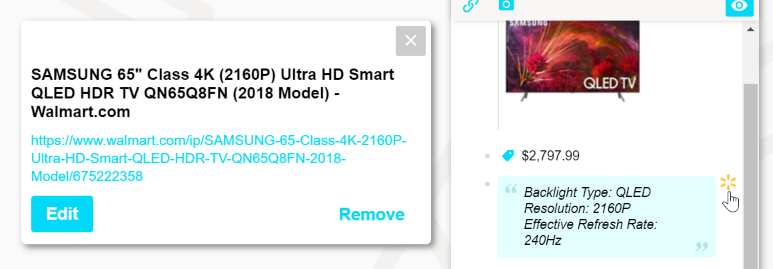
Adding sources manually
Sometimes the source of information cannot be saved automatically, especially when you add a picture from your local disk.
You can manually add/edit the source of information if you need to do so.
![]()
-
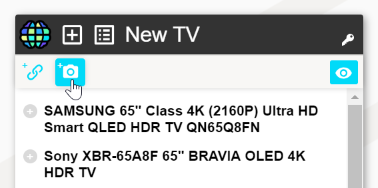
Taking screenshots
If you find information that cannot be saved using drag & drop, you can make a screenshot and save it as a picture.
You can use the global screenshot button and then move your screenshot to the desired location in your research:
![]()
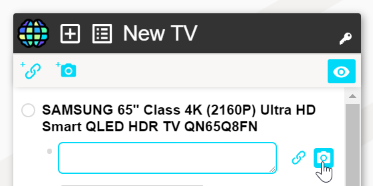
You can take a screenshot placing it in the desired location in your research:
![]()
-
Taking screenshots in the minimized mode
![]()
![]()
-
Sharing your research
Every research that you create can be previewed online via a private link.
![]()
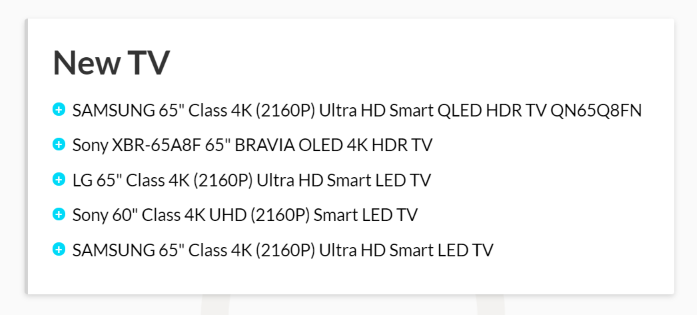
Your online preview will look like this:
![]()
If you like, you can share it with your friends by passing them the link.
Note: Remember that the researches you make are not published anywhere and it's up to you whether you share them with someone or not.
-
Collaborating in real-time
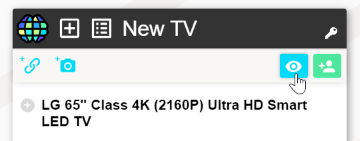
You can invite your friend and work on the same reasearch.
![]()
-
Didn't find the answer?
E-mail:
Your question has been sent. Thank you.
Getting started & How to
- Turning on and off
- Expanding and collapsing
- Changing the position on the screen
- Changing the window size
- Changing the research name
- Adding content by dragging & dropping
- Adding content by pasting a link
- Adding pictures from your computer
- Saving a website url (bookmark)
- Creating folders and grouping content
- Adding content in a particular place
- Moving content
- Deleting content
- Accessing the source website
- Adding sources manually
- Taking screenshots
- Taking screenshots in the minimized mode
- Sharing your research
- Collaborating in real-time
- Didn't find the answer?